
Water Damage Restoration · Whittier, CA
Ceiling Water Damage Repair in Whittier, CA
Trace the source, dry the cavity above, then repair and texture-match the ceiling so the patch does not show.
- 24/7 emergency dispatch
- 60-minute target response
- IICRC-certified technicians
- Direct insurance billing
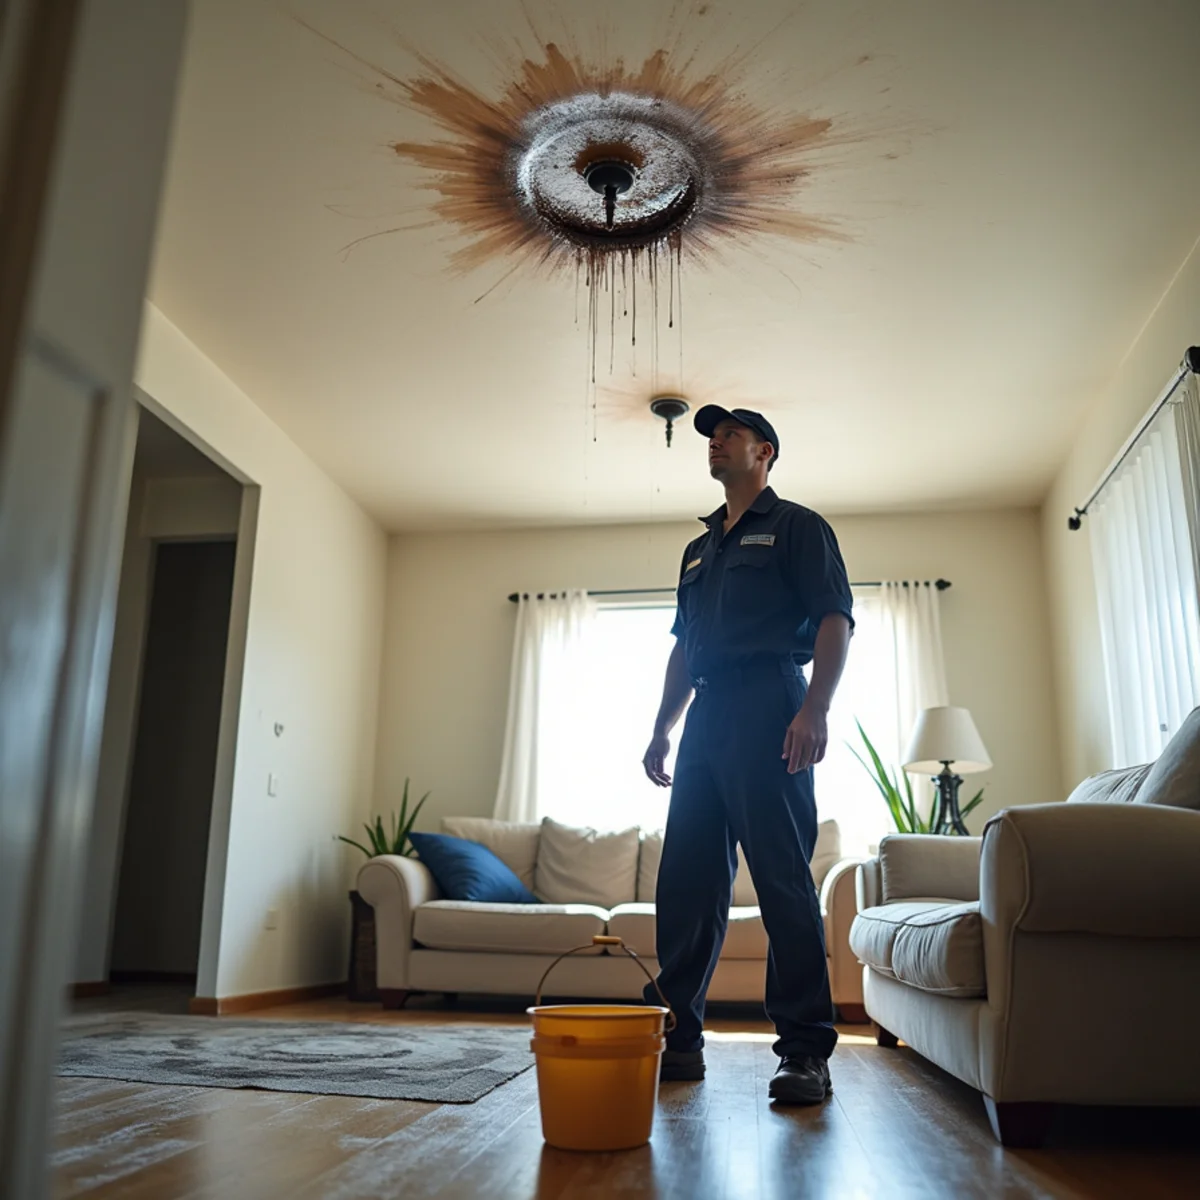
A brown ring on a ceiling is a receipt. Something above it has been wet, possibly for a long time, and the stain is the last stage of a process rather than the first.
If it is sagging or bulging, stay out from under it. Wet drywall holds a startling amount of water — a saturated section can weigh several times its dry weight — and it fails without warning, usually taking the light fixture with it.
Repairing the ceiling is the easy part. The part that matters is finding what wet it, drying the cavity above, and only then closing it up.
What you actually get
What Ceiling Water Damage Repair Includes
Closing the ceiling is the easy part. What this scope buys you is everything that has to happen above it first.
Making the area safe
Sagging sections relieved deliberately so they drain where we choose, affected circuits isolated, and the room cleared before anyone works underneath.
Source tracing, not guessing
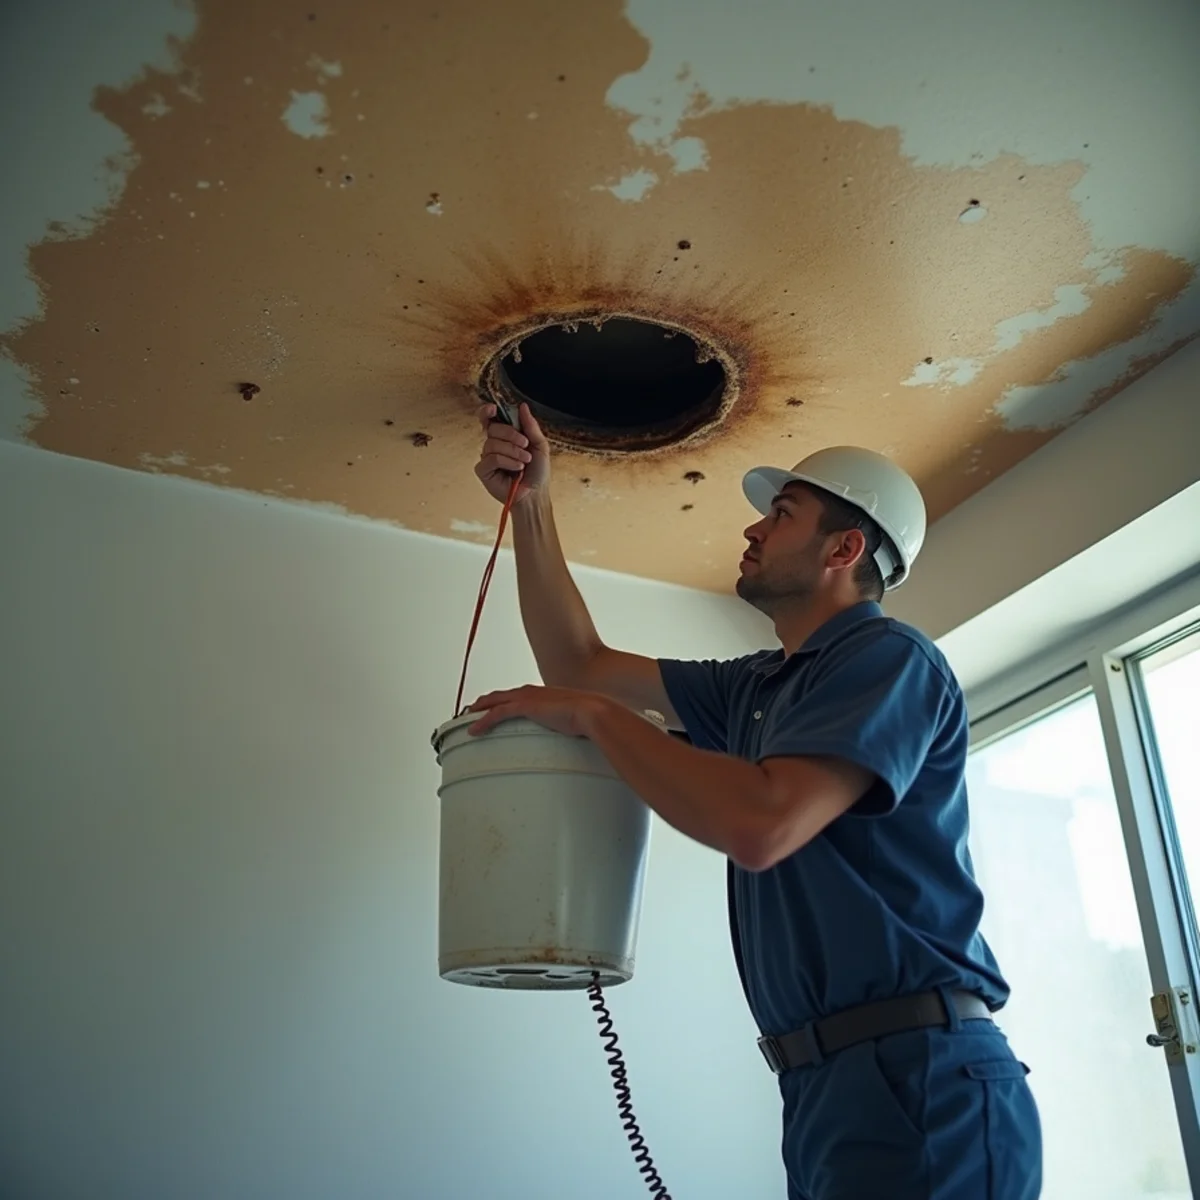
Thermal imaging from below and physical inspection from above — because water runs along framing and drops well away from where it entered.
Wet insulation removal
Blown-in and batt insulation that has been saturated does not recover. It comes out rather than being closed back in over the new drywall.
Cavity drying with readings
Directed airflow into the ceiling cavity and moisture read against a dry standard — the step nobody can see afterward, and the one that gets skipped.
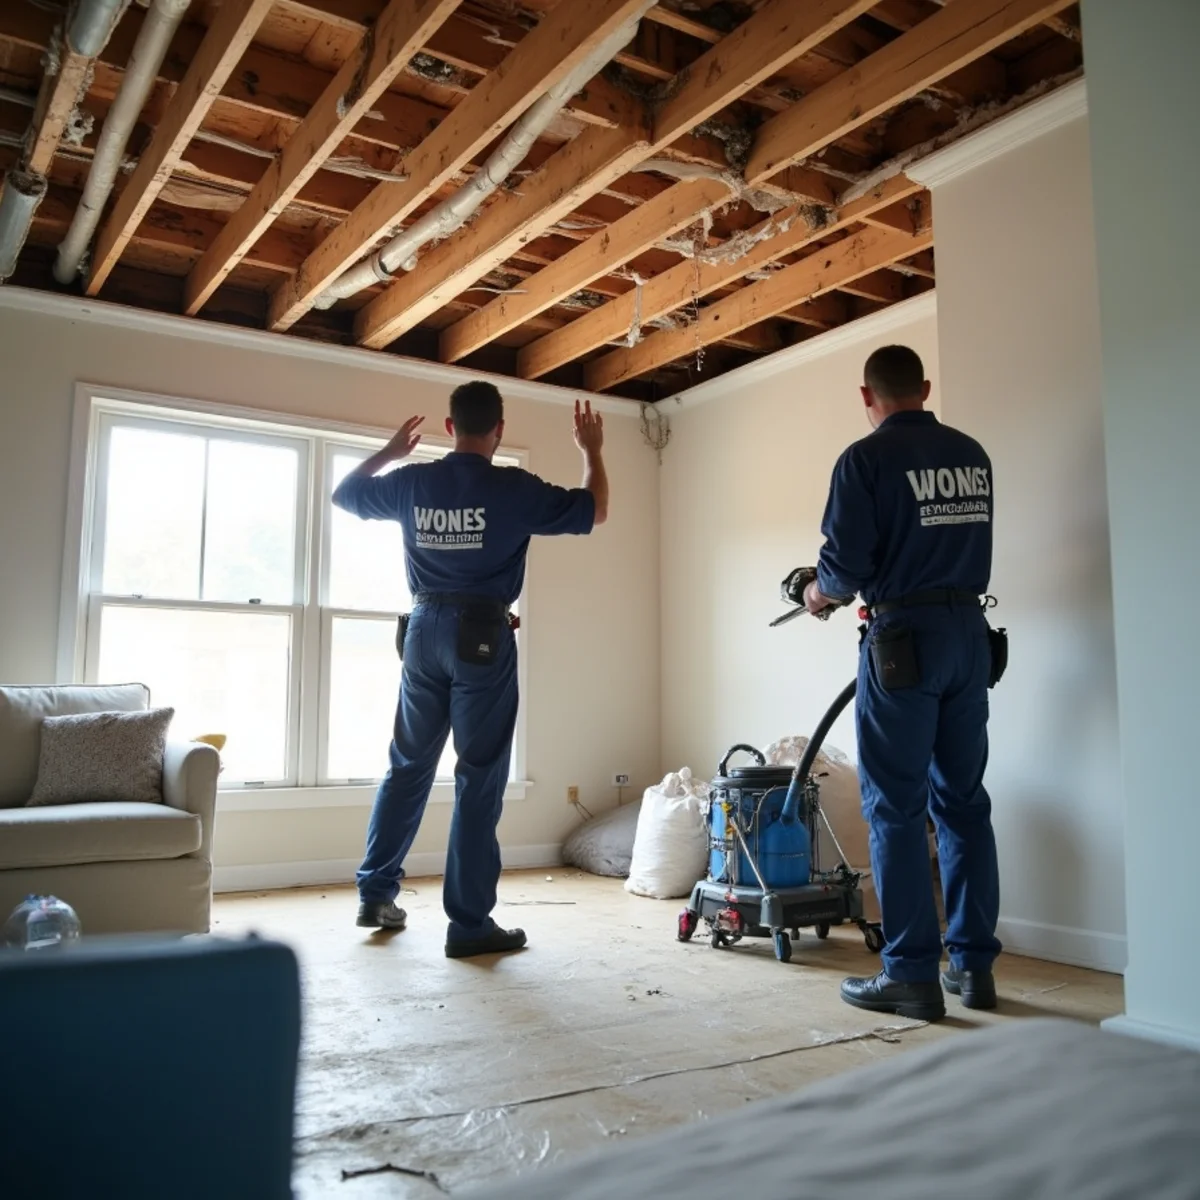
Drywall rebuild to the joists
Cut back to sound material, new board hung, taped and finished in coats, sanded flat rather than patched over compromised board.
Texture matching and stain-blocking
Hand or sprayed texture matched to the existing field, stain-blocking primer, then paint — commonly the full plane so no patch line reads under raking light.
Finding the Actual Source
Water does not fall straight down. It runs along the top of the drywall, follows framing, travels down HVAC ducting and electrical runs, and drops at the first low point or penetration. In a two-story home, the stain in the family room ceiling can originate ten feet away in the upstairs hall.
The realistic source list, in the order we check it: a supply or drain line in the ceiling cavity from an upstairs bathroom, kitchen or laundry; a failed shower pan or tub surround upstairs; a roof leak in a single-story home; condensation from an HVAC unit or an uninsulated duct in the attic; and a clogged condensate drain on an attic-mounted air handler, which is a genuinely common one during the first hot week of the year.
We trace it with thermal imaging from below and physical inspection from above — attic access in a single-story home, or a small controlled opening in a two-story. Repairing the ceiling without confirming the source is how the same stain returns in six weeks through fresh paint.
The Cavity Above Has to Dry First
This is where corner-cutting happens, because it is the step nobody can see afterward.
A ceiling cavity that has taken water holds it in the insulation, on the top face of the drywall, and in the joists. Wet blown-in or batt insulation does not recover — it compresses, holds water against the drywall, and loses its thermal value permanently. It comes out.
Then the cavity is dried with directed airflow and monitored with meters, exactly like a wall cavity. Closing up a ceiling over wet insulation and damp framing produces mold in a space with no airflow, no light and no way to inspect it. That is the worst possible location for a mold problem, and it is entirely avoidable.
Repair, Texture and Matching
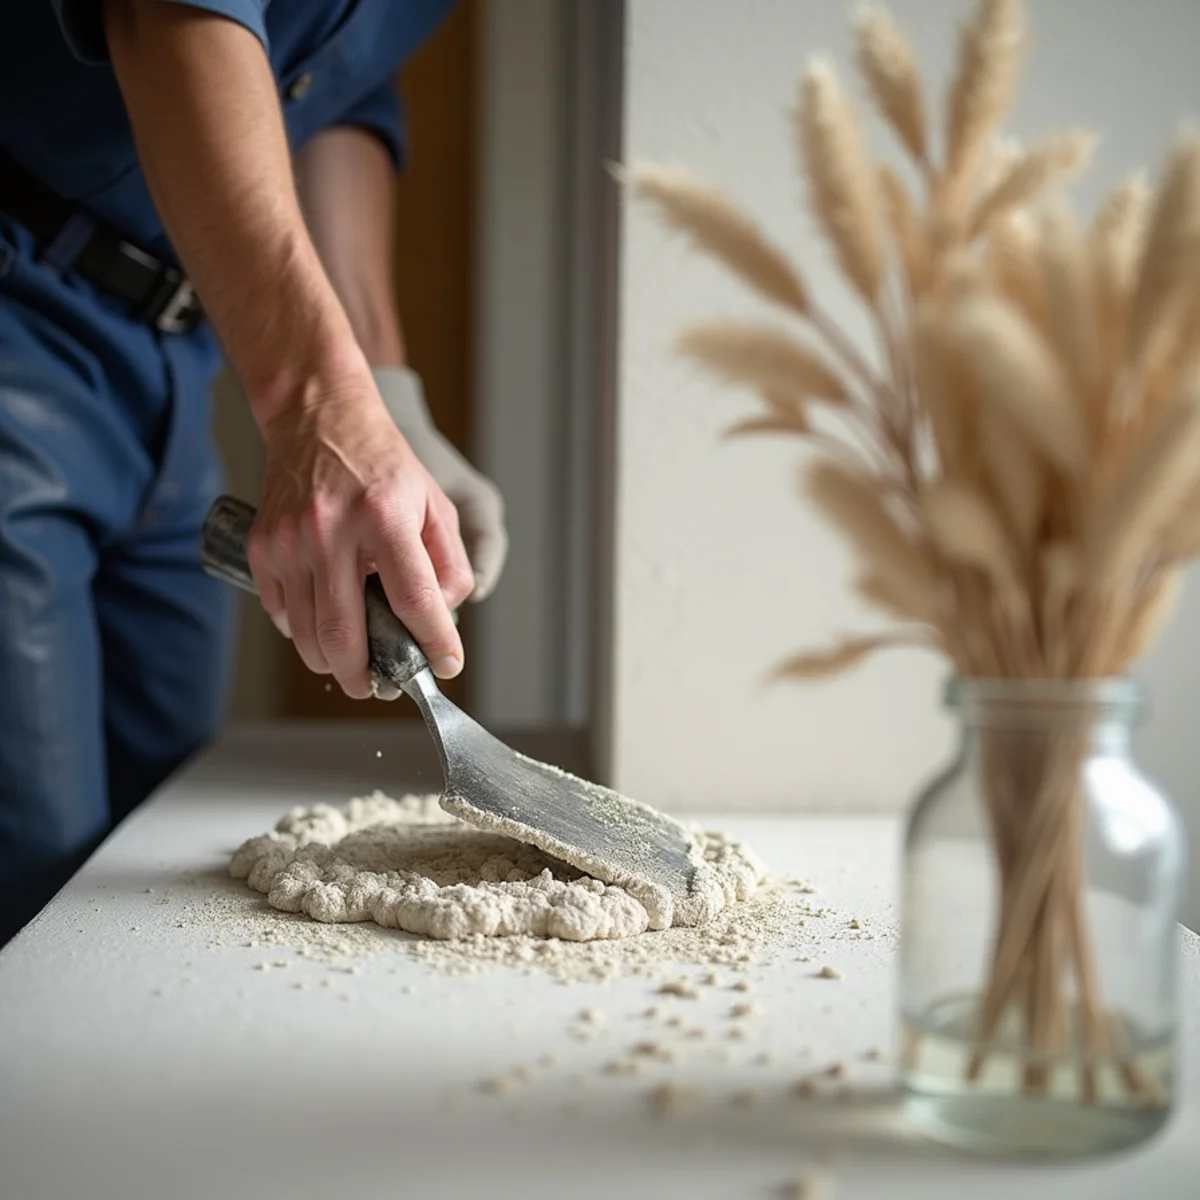
Once readings confirm the cavity is dry, the repair runs: cut back to sound material and to the joists, install new drywall, tape and mud in coats, then match the existing ceiling texture.
Texture matching is the part homeowners judge the whole job by, and older Whittier housing makes it interesting. Homes from the 1950s and 60s frequently have hand-applied textures, skip trowel, or acoustic "popcorn" ceilings. Popcorn deserves a specific note: ceilings installed before roughly 1980 may contain asbestos in the texture material, and disturbing them requires testing and, if positive, licensed abatement. We test rather than guess, because guessing wrong on that one is a serious matter.
For everything else, matching means spraying or hand-working the texture to blend into the surrounding field, then priming with a stain-blocking primer — water stains bleed through standard paint — and painting. On a heavily patterned ceiling, painting the full plane rather than just the patch is often the only way to make the repair genuinely disappear.
Why us for this job
Why Ceilings Are Where Corner-Cutting Shows
A repaired ceiling either disappears or it announces itself every time the light rakes across it. Both outcomes cost about the same to reach.
We will not close it over a wet cavity
A ceiling void has no airflow, no light and no way to inspect it. It is the worst possible place to leave damp insulation, and entirely avoidable — the first thirty minutes matter most when a ceiling is actively leaking.
We test pre-1980 popcorn rather than assume
Acoustic texture from that era may contain asbestos. Disturbing it without testing is a serious matter, and we do not guess on that one.
We match older Whittier textures
Hand-applied and skip-trowel finishes from the 1950s and 60s have to be worked rather than sprayed. That is craft, and it is why patches vanish.
We paint the plane, not the patch
On a textured ceiling, spot-painting is what makes a repair visible forever. Coating the full field is usually the only way to make it disappear.
- IICRC-certified technicians
- Licensed & insured
- 60-minute target response across Whittier
- Direct insurance billing
- 7012 Walnut Grove Dr, Whittier, CA 90606
Need ceiling water damage repair today?
A bulging ceiling fails without warning — call and clear the room underneath first.
Step by step
Our Ceiling Repair Process
Source, dry, rebuild, match. Skipping straight to step three is the most common mistake in this trade.
Step 1
Make the area safe
If the ceiling is sagging, the area is cleared and the water is controlled — sometimes by making a deliberate relief opening so it drains where we choose rather than collapsing. Affected circuits are isolated.
Step 2
Trace the source
Thermal imaging from below, inspection from above, and where necessary a pressure test of the lines running through the cavity. We do not proceed until we know what wet it.
Step 3
Open, remove and dry
Compromised drywall and wet insulation removed, then the cavity dried with directed airflow and monitored with meters against the dry standard.
Step 4
Rebuild the ceiling
New drywall hung to the joists, taped and finished in coats, sanded flat.
Step 5
Texture, prime and paint
Texture matched to the existing field, stain-blocking primer applied, then paint — commonly the full ceiling plane so no patch line reads under raking light.
On the job
Honest pricing
What Ceiling Repair Costs Depend On
The drywall is rarely the expensive part.
- Area affected
- A two-foot patch versus a full ceiling plane, and whether adjacent rooms share the wet cavity.
- Source difficulty
- An obvious upstairs supply line is quick to find. An intermittent roof leak that only shows in wind-driven rain takes longer.
- Insulation and cavity drying
- Removal, disposal and the equipment days needed to dry an enclosed cavity properly.
- Texture type
- Smooth is straightforward. Hand-applied and skip-trowel textures take skill. Pre-1980 popcorn requires asbestos testing before anything is disturbed.
- Paint scope
- Whether the repair can be spot-painted or the whole ceiling plane needs coating to avoid a visible patch.
Insurance generally covers the resulting ceiling damage when the source was a sudden covered event — and generally does not cover the failed component itself, or damage from a leak that was left unaddressed.
Related services, service areas and guides
Related services
- Roof Leak Water Damage RestorationAttic-down restoration: wet insulation out, decking and framing dried, ceilings rebuilt and matched.
- Burst Pipe CleanupFrom the shut-off valve to the final coat of paint — extraction, drying and rebuild after a supply line failure.
- Water Damage RestorationExtraction, structural drying, mold prevention and repairs — one crew from the first hour to the final coat of paint.
Related reading
- Ceiling Leaking During a Storm? What to Do in the Next 30 MinutesA bulging ceiling is holding more water than it looks and it fails without warning. Clear the room first, then relieve it deliberately.
- Wet Drywall: When It Can Be Saved and When It Has to Come OutThree questions decide it: what kind of water, how long, and does the board still have structural integrity.
Ceiling Water Damage Repair across our service area
We provide ceiling water damage repair across Whittier and the surrounding Los Angeles County communities. Each area page covers the local housing and drainage risks that actually drive water damage there.
- East WhittierUnder 10 minutes from our Walnut Grove Dr base. This is our home zone.
- Uptown WhittierAbout 8 to 12 minutes from our Walnut Grove Dr base, west along Whittier Boulevard or Philadelphia Street.
- Whittwood, WhittierUnder 10 minutes from our Walnut Grove Dr base — one of our closest zones.
- Friendly Hills, WhittierAround 8 to 12 minutes from our base, up toward the Whittier foothills.
- Pico RiveraTypically 10 to 15 minutes from our Walnut Grove Dr base, straight across on Whittier Boulevard or Washington Boulevard.
- Santa Fe SpringsAround 10 minutes from our base, south on Painter Avenue or straight down the 605.
- South WhittierUsually under 10 minutes from our Walnut Grove Dr base — one of the fastest zones we serve.
- La MiradaRoughly 12 to 18 minutes from our Whittier base via Imperial Highway or Rosecrans Avenue.
- NorwalkAround 12 to 15 minutes from our base, south on Norwalk Boulevard or Pioneer Boulevard.
- Los Angeles CountyWe work the southeast quadrant of the county from our base at 7012 Walnut Grove Dr in Whittier, with a 60-minute target response across the Gateway Cities and the lower San Gabriel Valley.
Request a visit
Free Estimate for Ceiling Water Damage Repair
We inspect with thermal imaging and moisture meters before quoting — a firm price given over the phone without readings is a guess. If water is spreading right now, call instead; crews are dispatched during the conversation.
+1 (201) 277-9344