Cost & Insurance
How to Document Water Damage for an Insurance Claim (Photo & Receipt Checklist)
Claims are decided on evidence, and the evidence disappears the moment mitigation starts. Twenty minutes of documentation is worth more than any argument later.
Water spreading right now? Call before you finish reading — crews are dispatched during the conversation, 24/7.
+1 (201) 277-9344The short answer
Photograph everything before mitigation begins — wide shots of each affected room, close-ups of the damage, the source, and a narrated walking video. Keep the failed component. Build a contents inventory with brand, age and approximate value. Keep a dated log of every call and expense, and get daily moisture readings in writing.
The uncomfortable truth about water damage claims: by the time an adjuster arrives, the wet carpet is gone, the drywall is cut out, and the room looks like a construction site.
Everything that gets paid is paid on the record made before that happened. Here is the checklist.
Before You Touch Anything
This is the highest-value twenty minutes of the entire claim. Do it before mitigation, before moving furniture, before cleaning up.
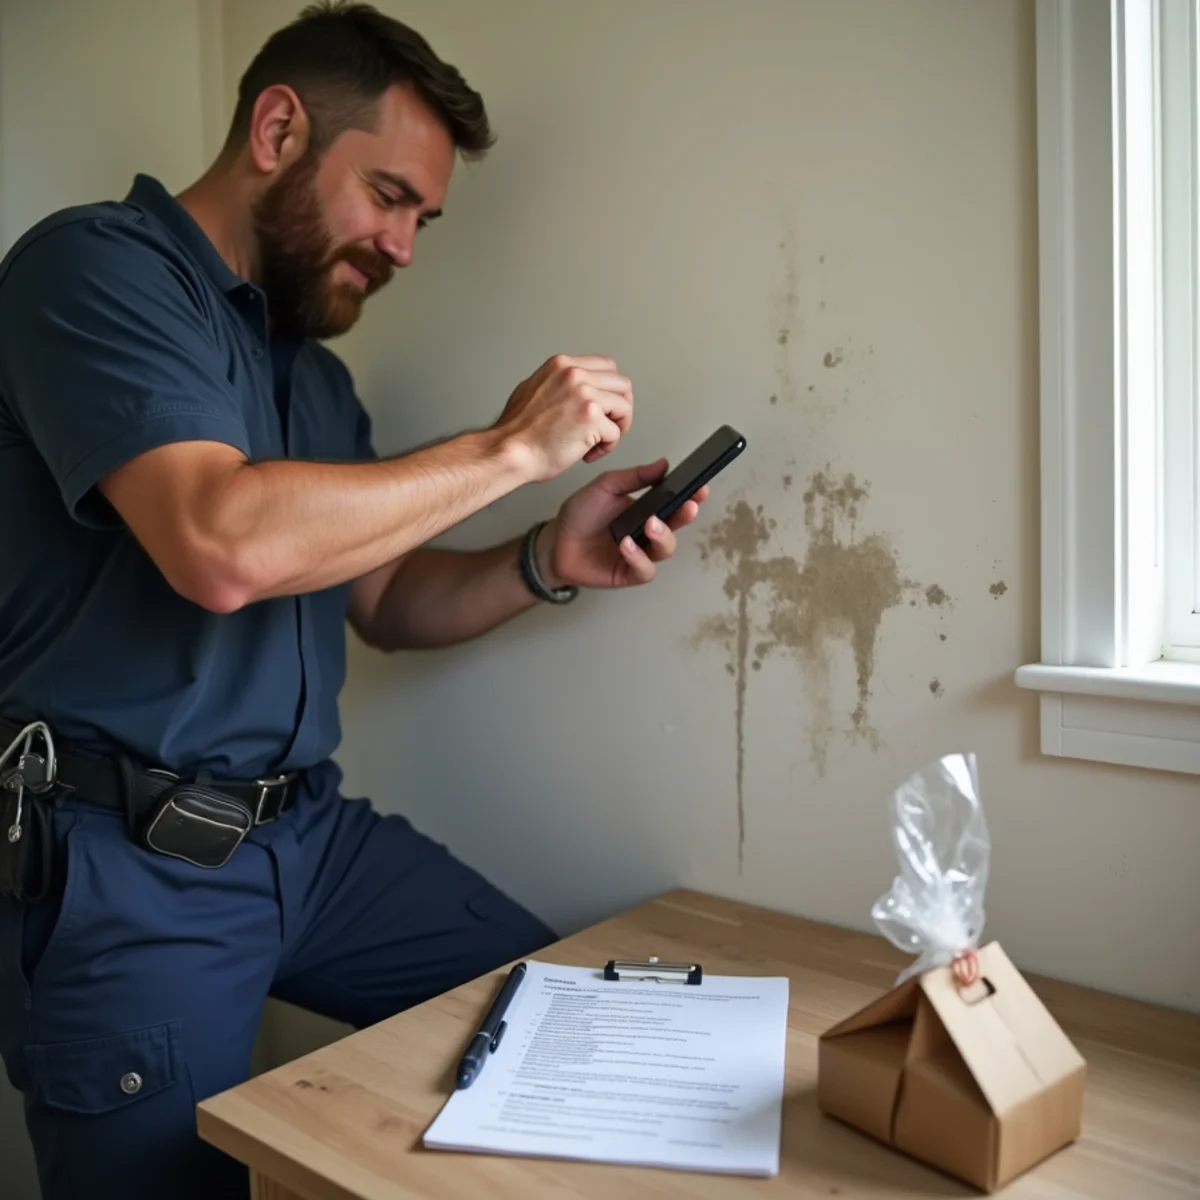
Wide shots of every affected room from the doorway, so context and scale are clear. Medium shots of each damaged area. Close-ups of specific damage: the waterline on walls, soaked baseboard, buckled flooring, stained ceiling, damaged contents.
A walking video through the whole affected area, narrating: what happened, when you discovered it, what you have done so far, and what the weather was doing if that is relevant. An adjuster watching that video six weeks later gets context no still photograph carries.
The source, if you can see it — the failed pipe, the hose, the appliance, the roof entry point.
Photograph the Things People Forget
The obvious shots get taken. These are the ones that turn out to matter.
- The serial and model plate on any failed appliance or water heater
- The date stamp on a water heater — it establishes age, which affects both cause and coverage
- Inside cabinets and under sinks, where the actual water path is often visible
- Behind and under furniture before it is moved
- Contents in place before they are relocated — especially electronics and anything valuable
- The ceiling and walls in adjacent rooms, to establish the full extent early
- A timestamp reference — a phone screen or a newspaper in one frame per session
Keep the Physical Evidence
Do not throw away the failed component. The burst hose, the split fitting, the corroded section of pipe, the failed valve — bag it, label it with the date, and keep it somewhere dry.
If a claim turns on whether a failure was sudden or gradual, the component itself is the best evidence there is. A hose that failed from a clean rupture tells a different story from one with months of mineral crust around a weep point.
Ask your plumber to keep any section they cut out too, and to photograph it in place before removal.
Build a Contents Inventory
For anything damaged, record: what it is, brand and model, approximate age, approximate purchase price, and a photograph. Do it as you go rather than reconstructing it later.
Original receipts help enormously where you have them; for older items, email order confirmations and credit card statements are usually acceptable. For high-value items, an appraisal or prior insurance schedule carries most weight.
Do not dispose of damaged contents before the adjuster has either seen them or agreed in writing that photographs suffice. Once it is at the curb it is gone from the claim.
Keep the Running Log
A single document — a notes file works — with dated entries for everything.
- Date and time you discovered the damage, and what you saw
- Every phone call: who, when, what was said, and any reference number
- When mitigation started and which company
- Daily moisture readings from your restoration crew (ask for these in writing)
- Every expense: hotel, meals above normal, replacement essentials, laundry
- Adjuster visits, what was inspected, and what was said
The Documentation Your Restoration Company Should Provide
This is where claims are won or short-paid, and it is worth asking about before you hire anyone.
You should receive thermal images showing the extent of hidden moisture, daily moisture readings logged at the same marked locations, ambient temperature and humidity records from the drying chamber, equipment placement records showing what was on site and for how long, and a written scope describing what was removed and why.
Drying days are one of the most commonly disputed line items in water claims. A carrier that questions why equipment was on site for five days is answered by a daily log showing readings above the dry standard for five days — and by nothing else.
We produce that documentation as standard on every job, from the first emergency water removal visit through final verification — see what the claim file contains and how direct billing works.
The Documentation That Carries Weight, and the Kind That Does Not
Homeowner photographs establish what the loss looked like. They rarely settle a disputed claim on their own, because the questions that get disputed are about hidden extent and about time, and neither is visible in a photograph of a wet carpet.
What answers those questions is instrument data, collected on a schedule. A properly documented drying file records moisture content readings taken at the same marked locations every day, the temperature and relative humidity inside the drying chamber and outside it, thermal images of the affected assemblies, and a stated dry standard — the reading taken from an unaffected area of the same material, which is what "dry" is measured against. A downward curve across four days of readings, ending at the dry standard, is the evidence that justifies every equipment day billed.
The practical asymmetry is worth stating plainly: over-documenting costs you nothing and under-documenting is unrecoverable. Once wet drywall has been cut out and the carpet is in a skip, the original condition exists only in whatever was captured beforehand. A hundred photographs of a two-room loss is not excessive, and the twenty minutes spent before mitigation starts is the highest-value twenty minutes in the entire claim.
- Daily moisture content readings at fixed, marked locations — not spot checks
- A stated dry standard from unaffected material of the same type
- Temperature and relative humidity logs, inside and outside the drying area
- Thermal images of affected assemblies, at the start and on completion
- A written scope listing what was removed and why
- Equipment placement records showing what ran, where, and for how many days
The bottom line
Photograph everything before anything moves. Keep the failed part. Log every call and every reading.
Claims are not won by arguing well six weeks later. They are won by the twenty minutes you spent with a phone camera on the first night.