Problem Solving
How Pros Find Slab Leaks Without Tearing Up Your Whole Floor
Four instruments, run in sequence. Done properly, the repair opens a few inches of concrete instead of a room.
Water spreading right now? Call before you finish reading — crews are dispatched during the conversation, 24/7.
+1 (201) 277-9344The short answer
Confirm the leak at the meter, isolate hot from cold and the house from irrigation by pressure testing, listen with acoustic equipment across a grid, confirm the position with thermal imaging, and fall back to tracer gas for leaks too quiet to hear. Detection is non-invasive — the floor is only opened at the repair point.
The fear with a slab leak is the jackhammer — that finding it means opening the floor and hoping. It does not, and it has not for a long time.
Location is a process of elimination run with several instruments, none of which touch your floor.
Step 1: Confirm There Is a Leak At All
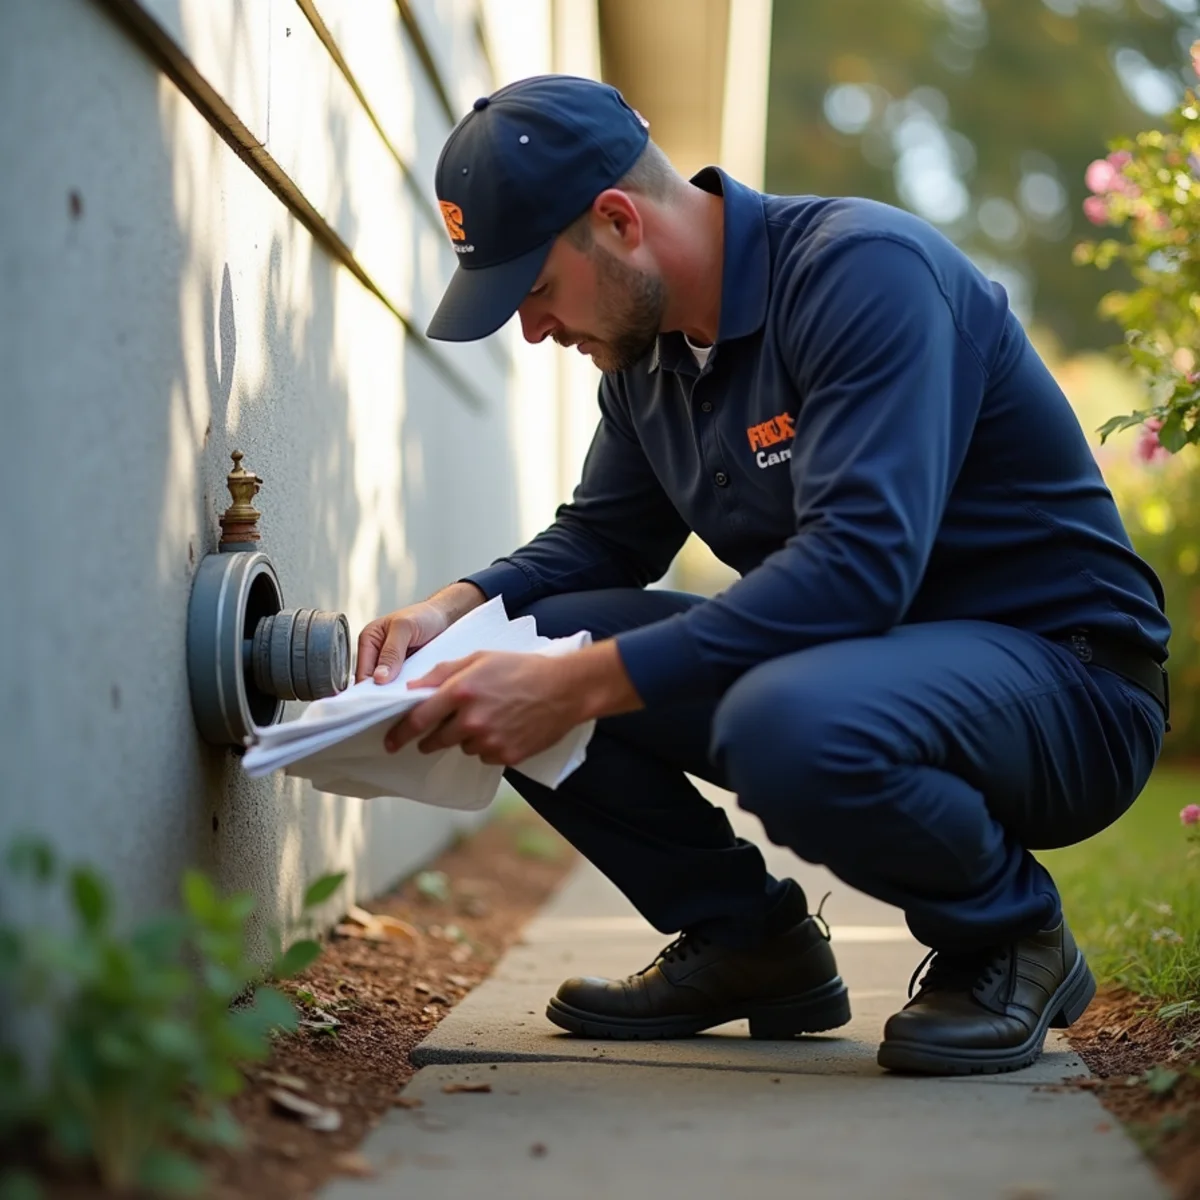
The meter test comes first because it is free information. Every fixture off, watch the meter. Movement means active loss on the system.
It also gives a rough sense of volume, which matters — a fast loss and a slow weep behave differently on the acoustic equipment later.
Skipping this step means potentially spending an afternoon looking for a leak that turns out to be a running toilet flapper.
Step 2: Isolate the System
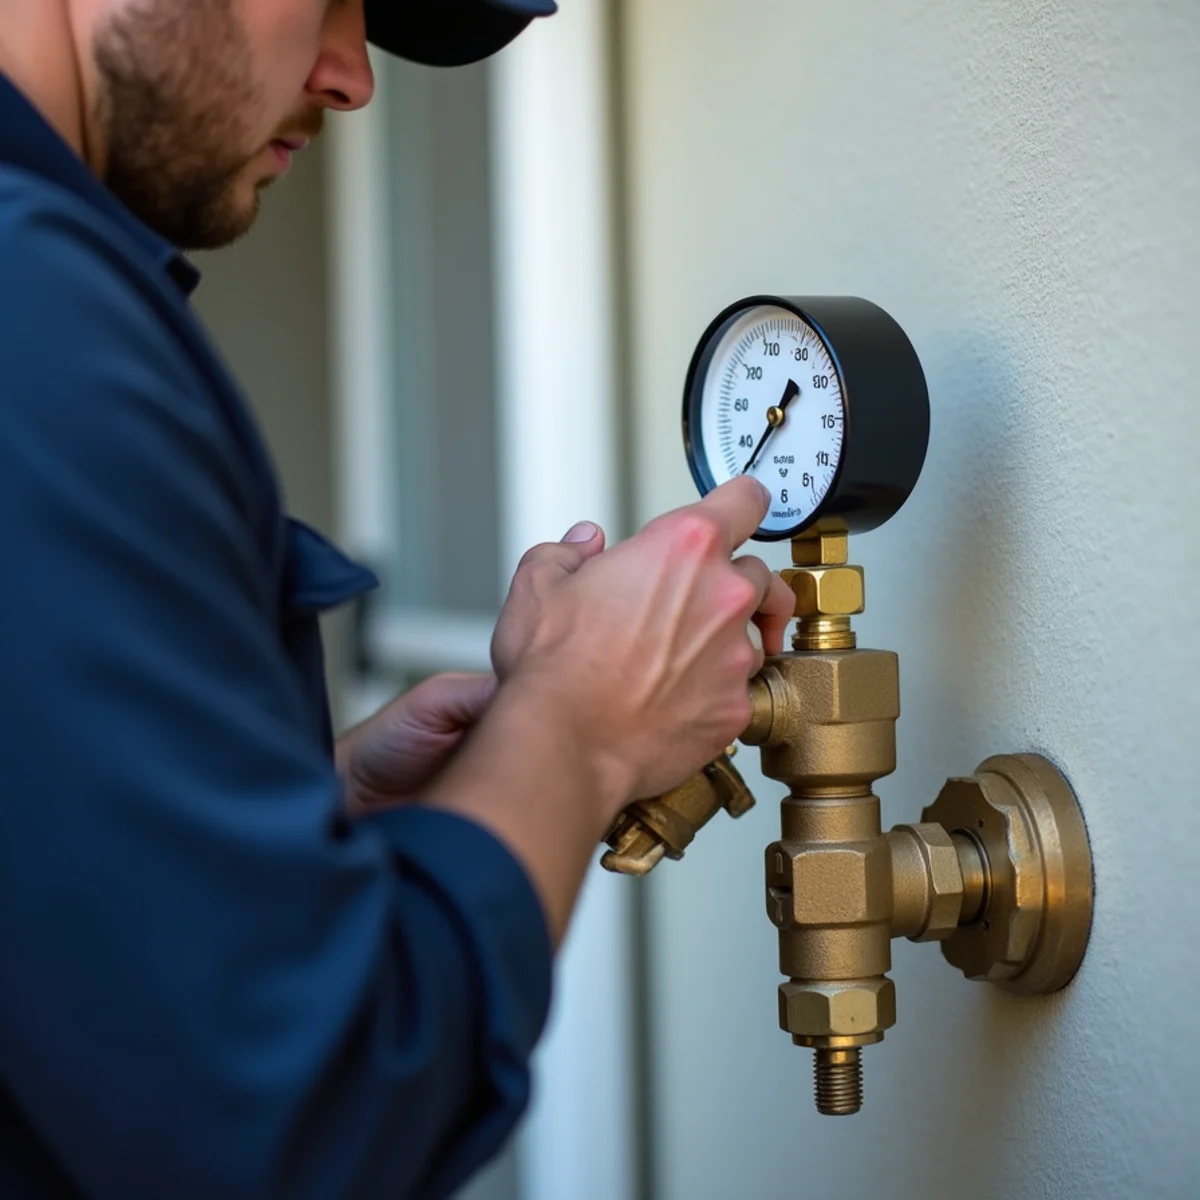
This is the step that does most of the work and gets the least credit.
Hot is separated from cold and pressure-tested independently. The house is separated from the irrigation and yard lines. On larger properties, individual zones are isolated in turn.
By the end of it, a whole-house search has usually been narrowed to one line, and often to one branch of it. Skipping isolation and going straight to listening means sweeping an entire floor plan for a sound that could be anywhere.
Step 3: Listen
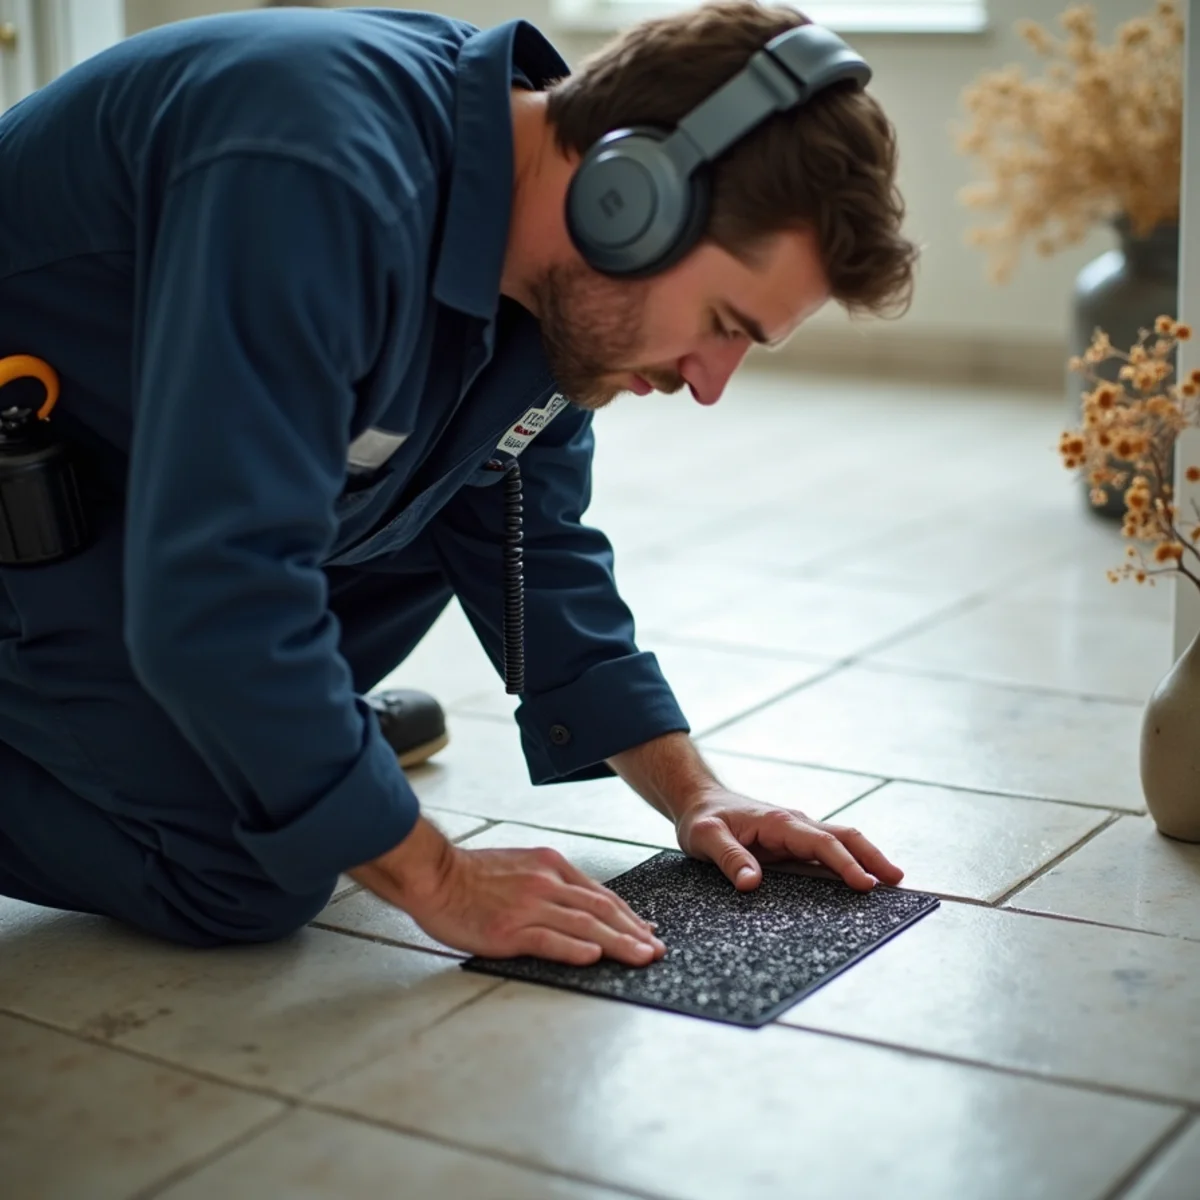
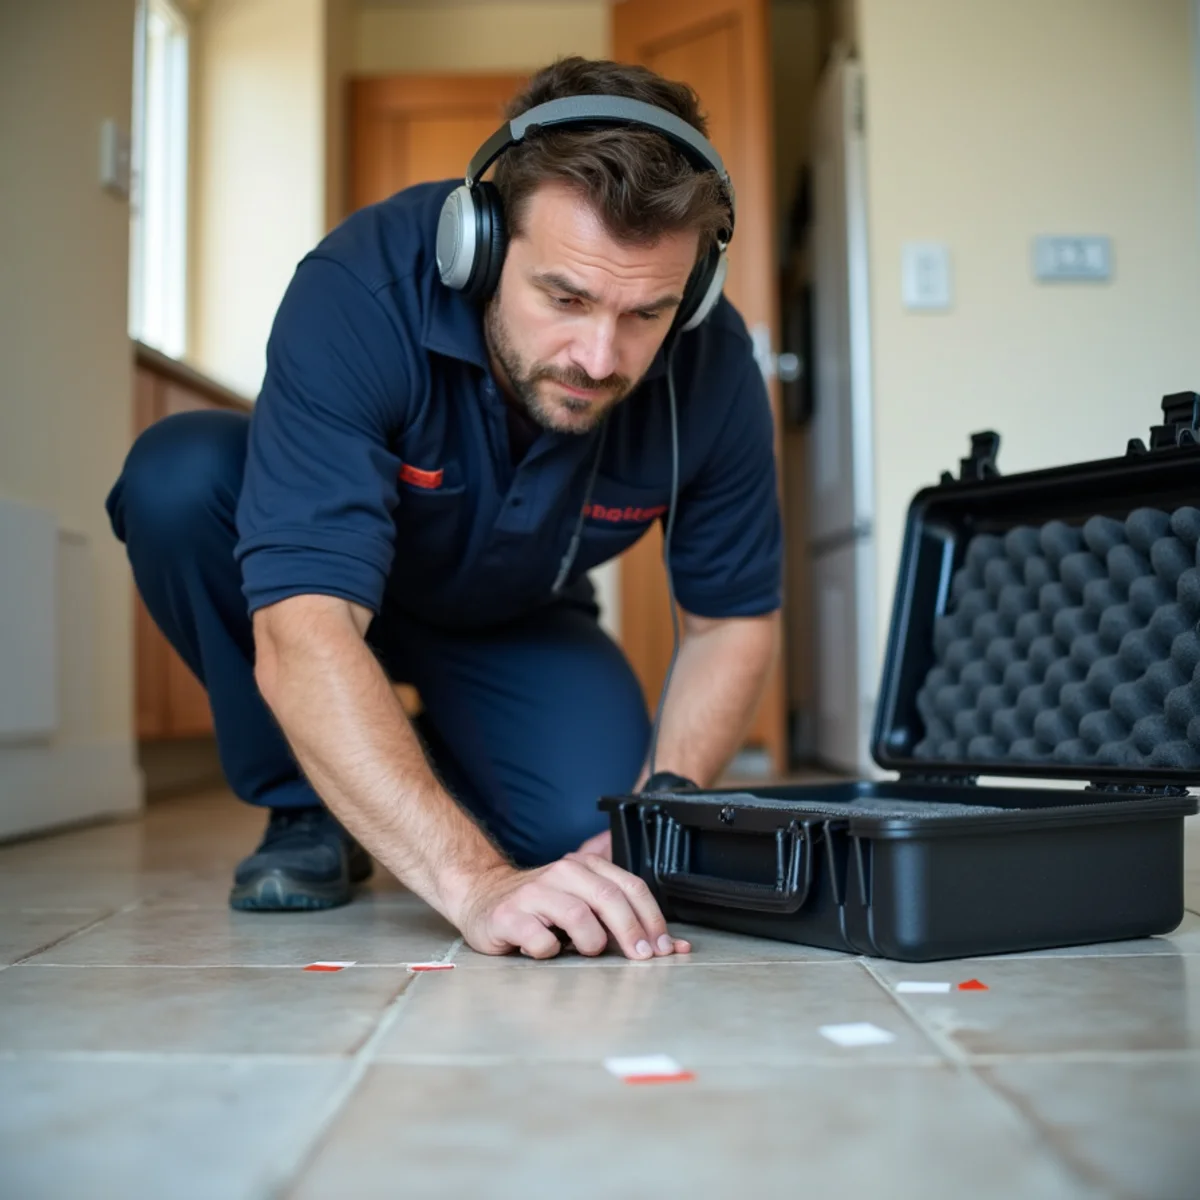
Water escaping a pressurized pipe makes noise — a hiss at the escape point, transmitted through the pipe, the soil and the concrete.
Acoustic listening equipment amplifies that and filters out ambient noise. The technician works a grid across the suspected area, listening for the point of maximum intensity, and narrows it progressively.
This is genuinely a skill rather than a gadget. Floor covering affects it — acoustic work is harder over thick carpet than over tile — and background noise matters, which is why this work is often done early in the morning.
Step 4: Confirm With Thermal Imaging
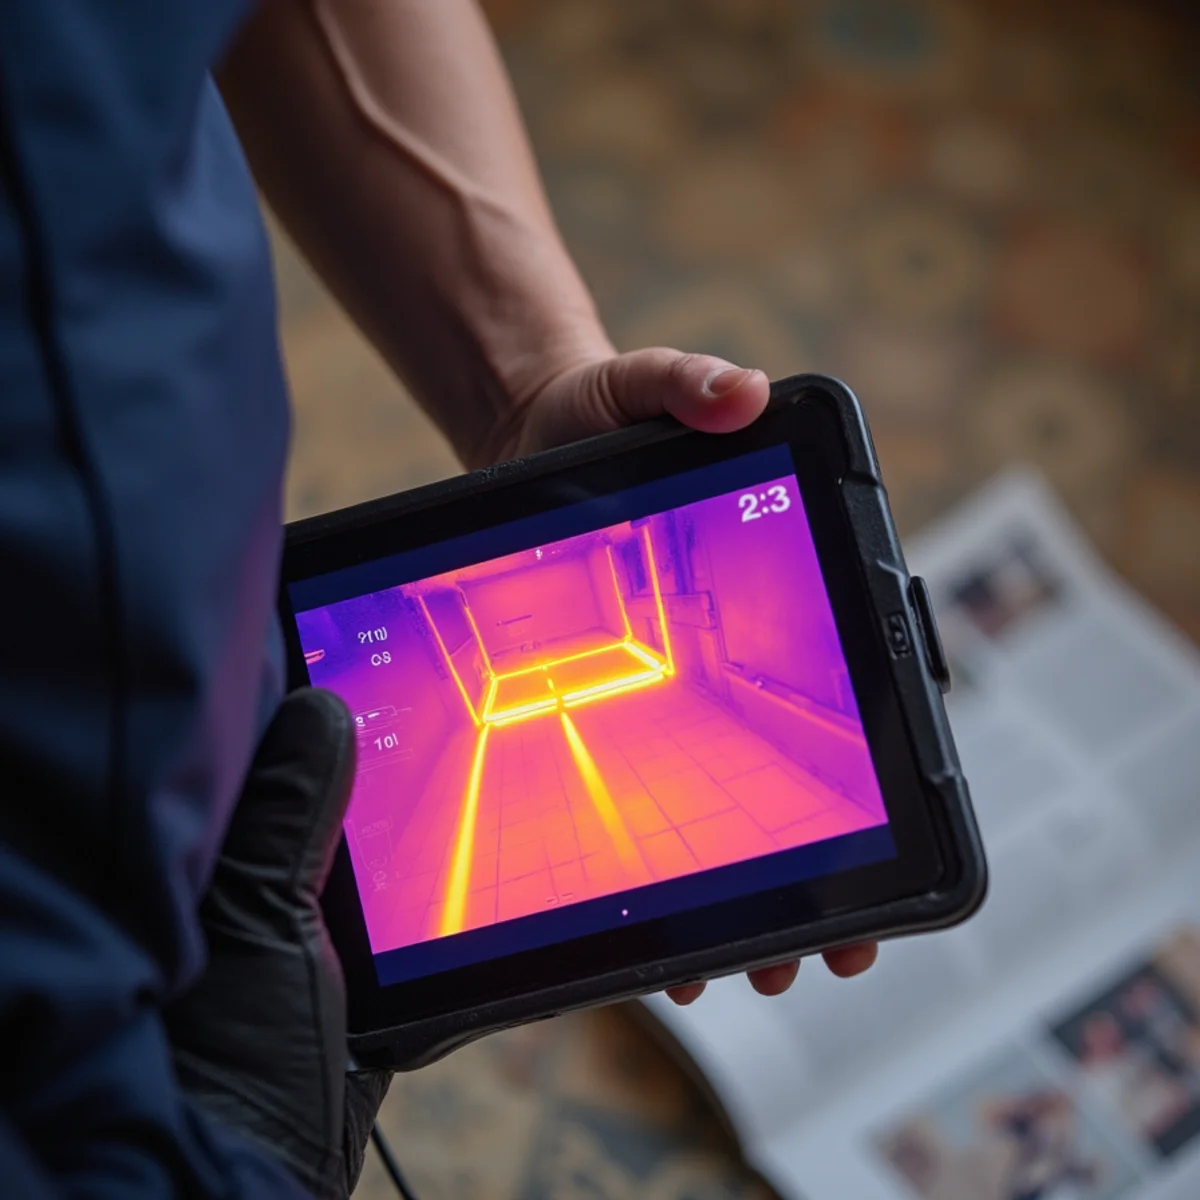
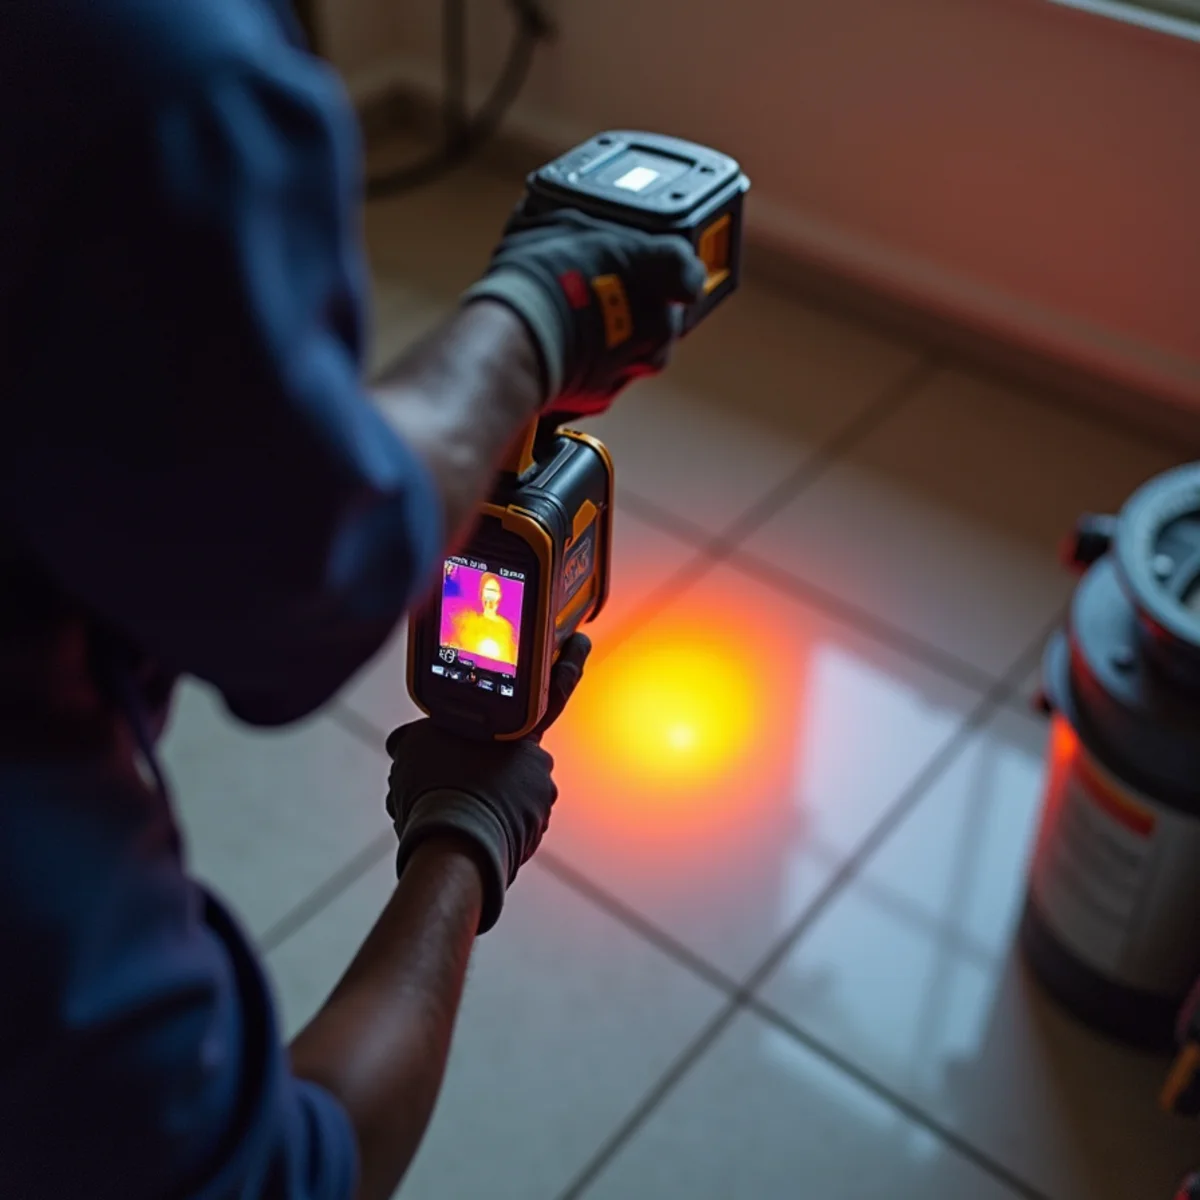
A hot-water slab leak heats the concrete and the floor covering directly above it, producing a temperature gradient that a thermal camera reads clearly.
This is why the "warm spot on the floor" symptom is so useful — you are detecting with your feet what the camera detects properly.
For a cold-water leak the thermal signature is a cool patch instead, subtler and more dependent on conditions, but frequently still readable.
Step 5: Tracer Gas, When Nothing Else Works
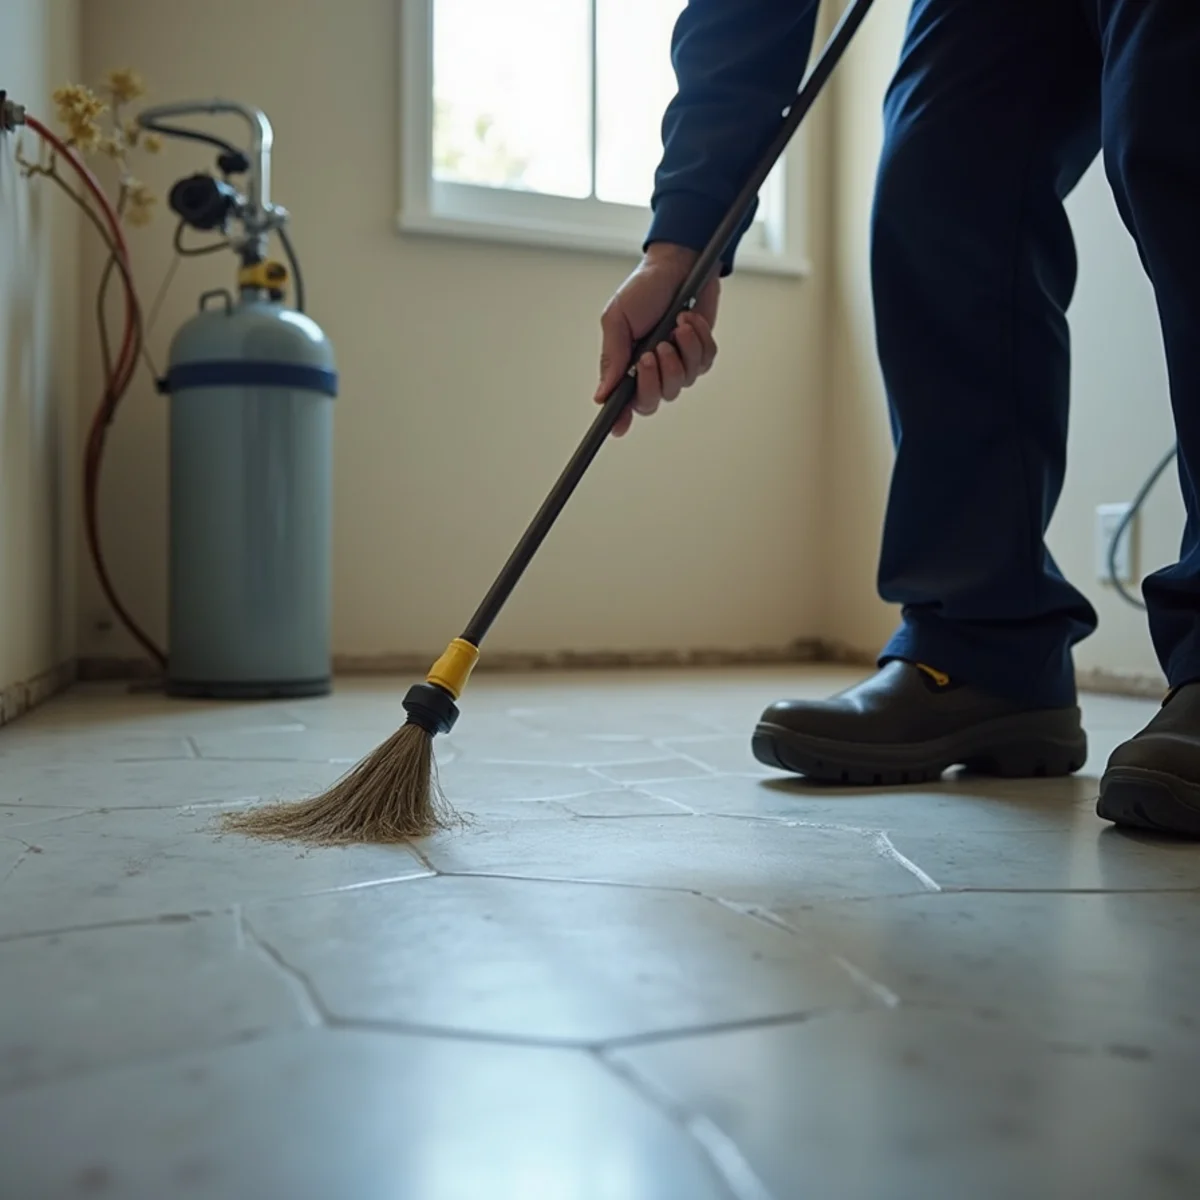
Some leaks are too small or too quiet to hear reliably — a weep rather than a spray, or a leak under a thick mortar-bed tile assembly that muffles everything.
For those, the isolated line is charged with a safe tracer gas mixture. The gas escapes at the leak, migrates up through the slab, and a sensitive detector finds it at the surface.
It is slower and more involved than acoustic work, which is why it is the fallback rather than the default — but it locates leaks nothing else will.
What You Should Get at the End
A marked location on your floor, and a written report with the findings and photographs, usable by your plumber and your insurer.
Also worth having: a moisture map showing how far water has already traveled from the leak point through the slab, flooring and wall bases. That footprint is nearly always larger than homeowners expect, and it defines the restoration scope that follows the repair.
What Detection Accuracy Is Actually Worth, in Concrete
Homeowners sometimes weigh a detection fee against the option of having a plumber open the floor where the damp appears and see what is there. The arithmetic strongly favors detection, and it is worth setting out plainly because the saving is not in the plumbing.
A leak located to within inches means a small opening cut in the slab at one point — a modest area of flooring lifted, a manageable amount of concrete broken and removed, one patch, one flooring repair. A leak located to within a general area means a search: several openings, or one large one, with each additional opening carrying its own flooring, concrete, spoil removal, patching and finish work. On tile set in a mortar bed, on hardwood, or on a floor covering that has been discontinued and cannot be matched, that difference dominates the total cost of the job by a wide margin.
The other thing accuracy buys is a clean claim. A written detection report with the located position, photographs and a moisture map documents both the cause and the extent of resulting damage — which is precisely what a carrier needs to separate the excluded plumbing repair from the covered water damage. Exploratory demolition produces the same holes with none of that evidence, and the access costs are much harder to defend afterwards.
The bottom line
Meter, isolate, listen, image, and gas if needed. Nothing in that sequence touches your floor.
The precision is what keeps the repair small — which is why detection is cheap relative to what it prevents.