Emergency Guides
Washing Machine Supply Line Burst: 5 Steps to Limit the Damage
The most preventable water loss there is. Here is what to do when it happens — and the fifteen-dollar afternoon that stops it happening again.
Water spreading right now? Call before you finish reading — crews are dispatched during the conversation, 24/7.
+1 (201) 277-9344The short answer
Close both laundry valves — or the main shut-off if they are seized — and unplug the machine if the outlet is dry. Then follow the water into the rooms behind and below the laundry, photograph before you clean, keep the failed hose, have the carpet padding extracted properly, and replace both hoses with braided stainless.
Washing machine supply hoses sit under full household pressure twenty-four hours a day, whether the machine is running or not. When one lets go, it runs at that pressure until someone closes a valve.
That is why this failure is so disproportionately destructive: it almost always happens when nobody is home to hear it.
Step 1: Close the Laundry Valves
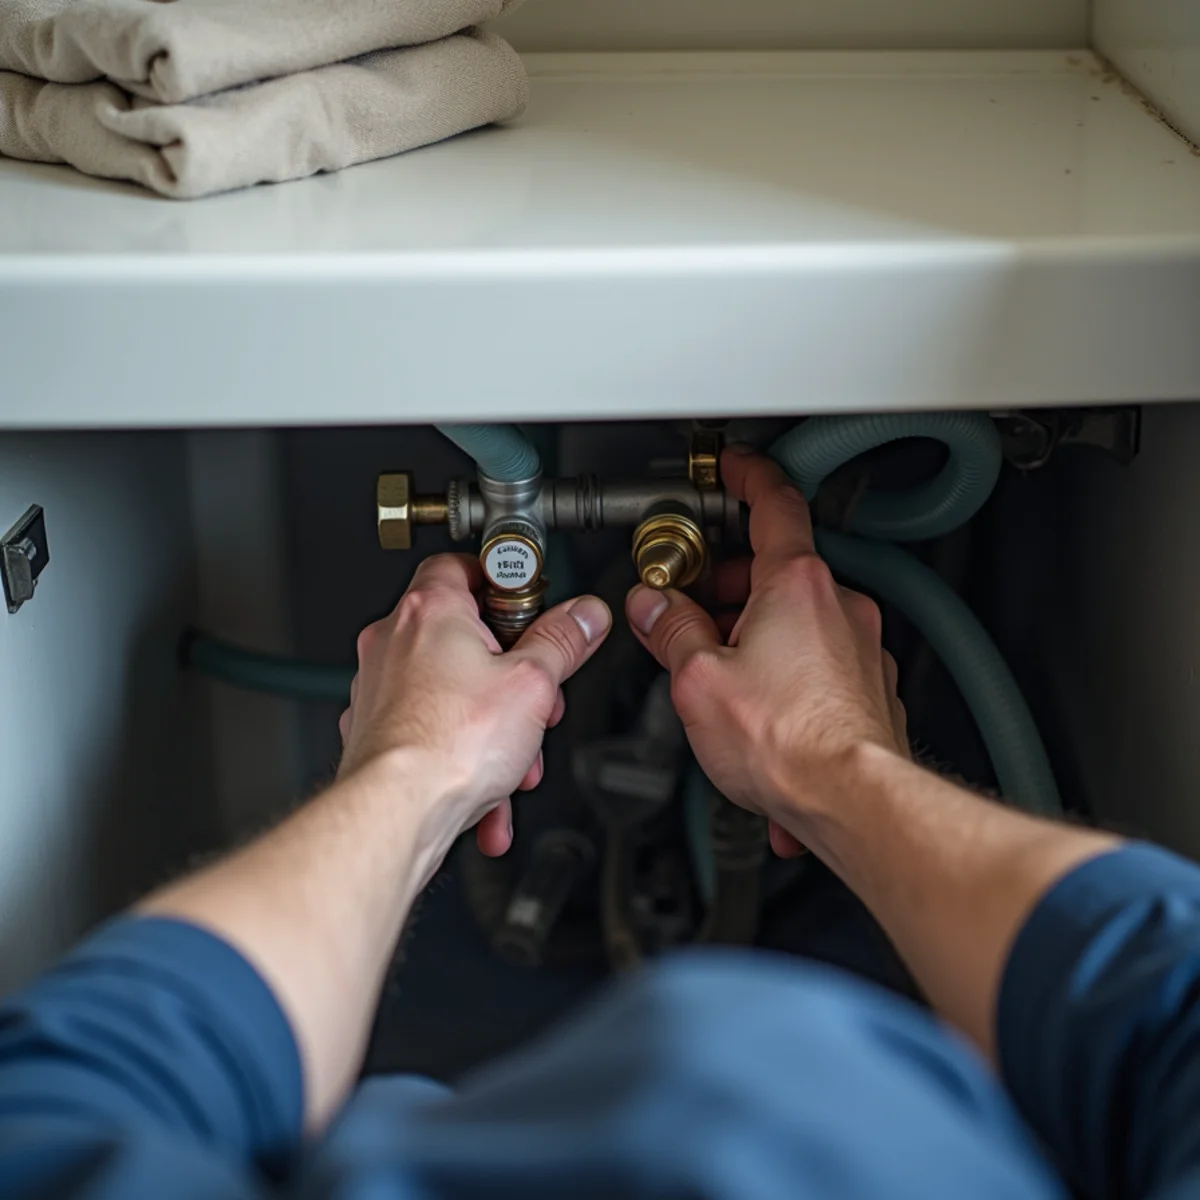
Behind or above the machine there are two valves, hot and cold, usually in a recessed box in the wall. Close both — clockwise for round handles, quarter turn for levers.
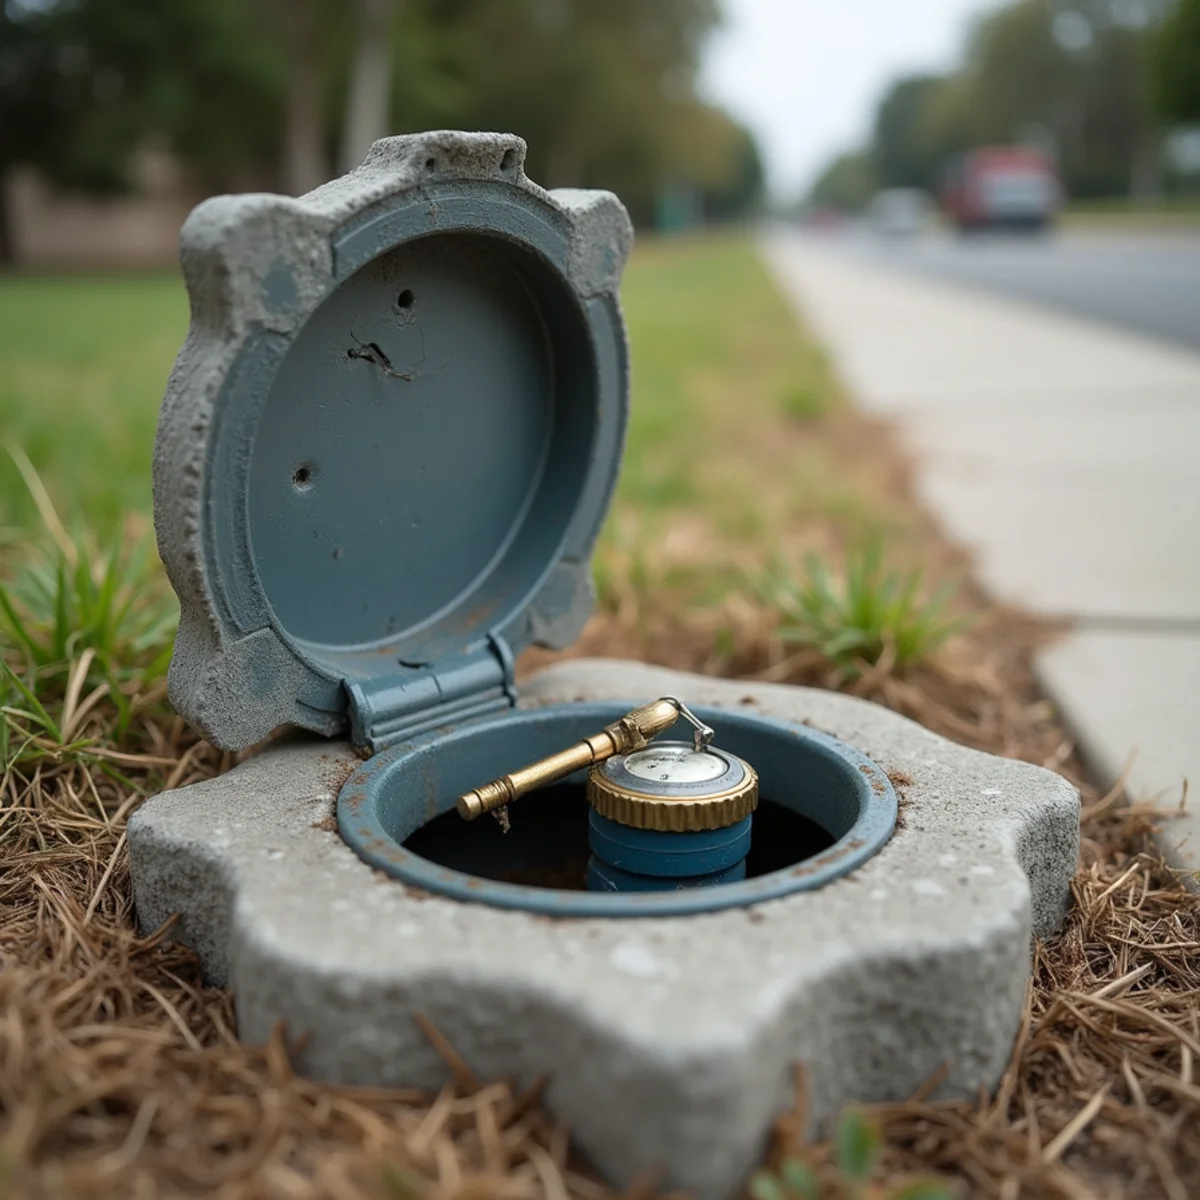
If they are seized, which is common on valves that have never been turned, go to the main house shut-off: the meter box near the street or the exterior wall where supply enters the house.
Then unplug the machine, but only if the outlet is not in standing water.
Step 2: Find Out Where the Water Went
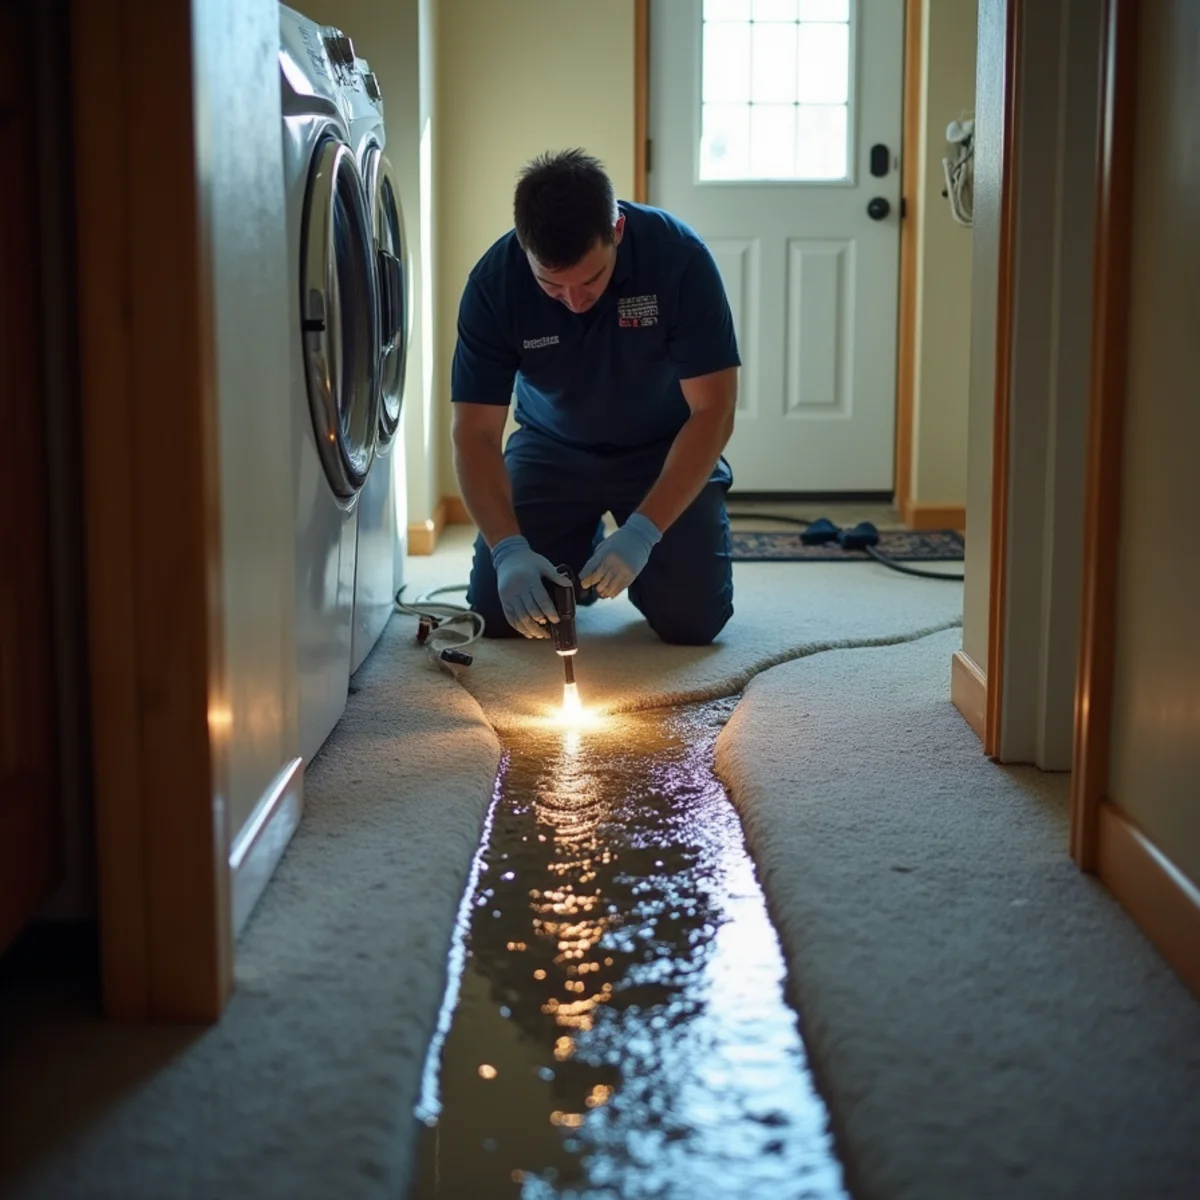
Laundry areas are frequently the worst place in a house for this to happen, because of where they sit.
In a garage or utility room, water runs across the slab and finds the wall shared with living space. In an interior laundry closet, it goes straight into the hallway carpet and under the adjoining wall. On a second floor — increasingly common in newer builds like The Groves — it goes through the floor into the ceiling cavity below.
Follow it. Check the rooms on the other side of every wall the laundry touches, and directly below if it is upstairs. Water travels much further than the visible edge suggests.
Step 3: Photograph Before You Clean
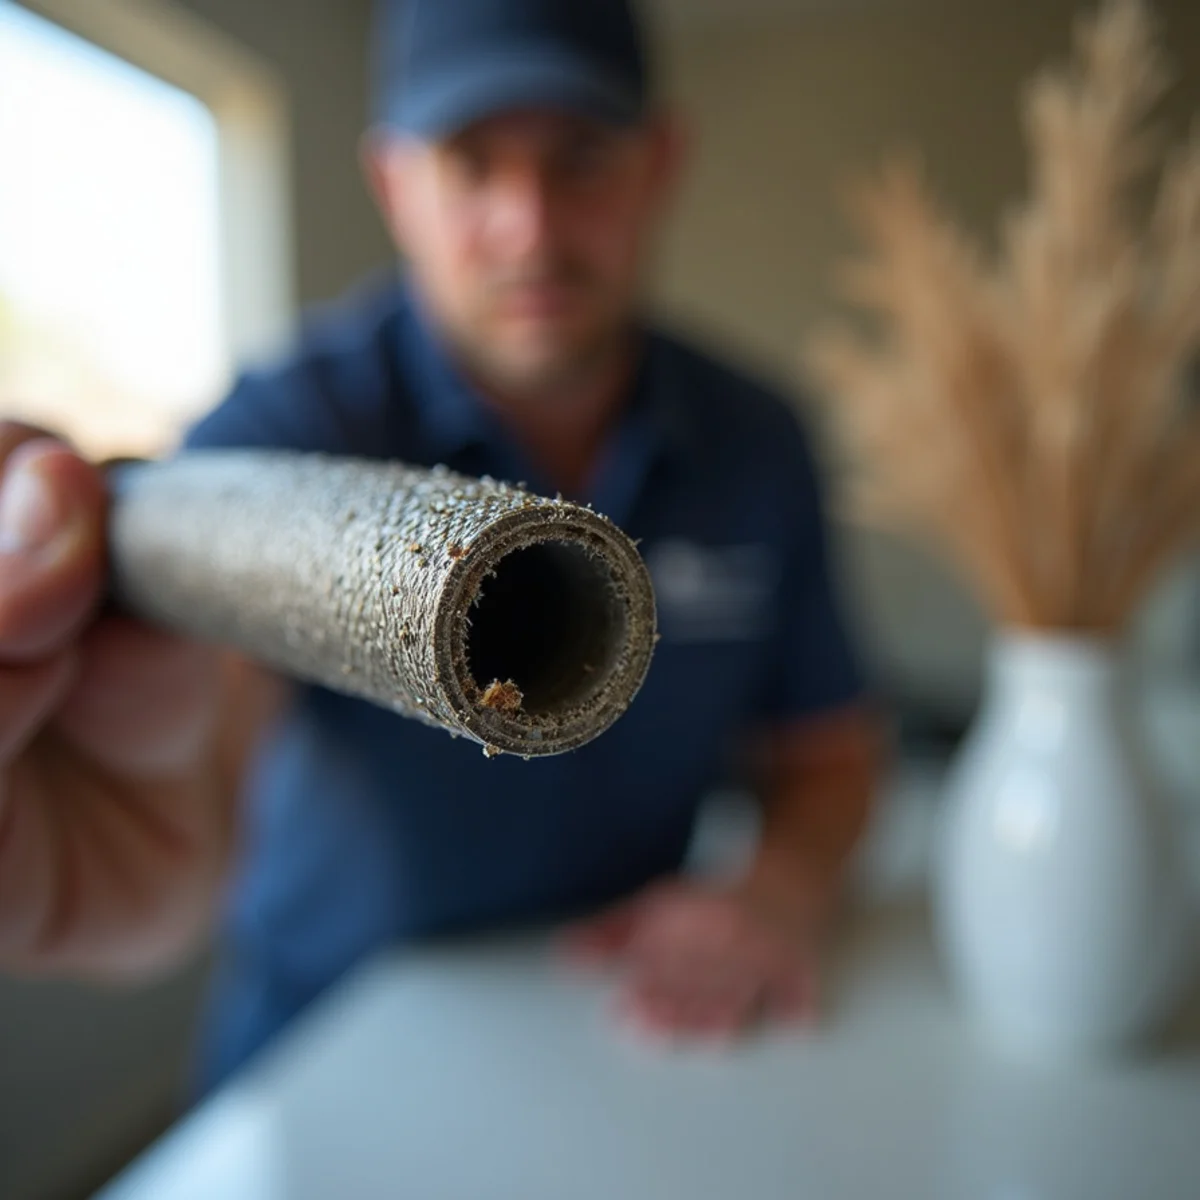
Wide shots of the room, close-ups of the failed hose and the connection, the waterline on walls and baseboards, and the affected flooring in adjacent rooms.
Keep the failed hose. Do not throw it away. If there is any question later about cause — and there sometimes is, particularly if the hose is very old — the physical component is the evidence.
Step 4: Get the Water Out, Properly
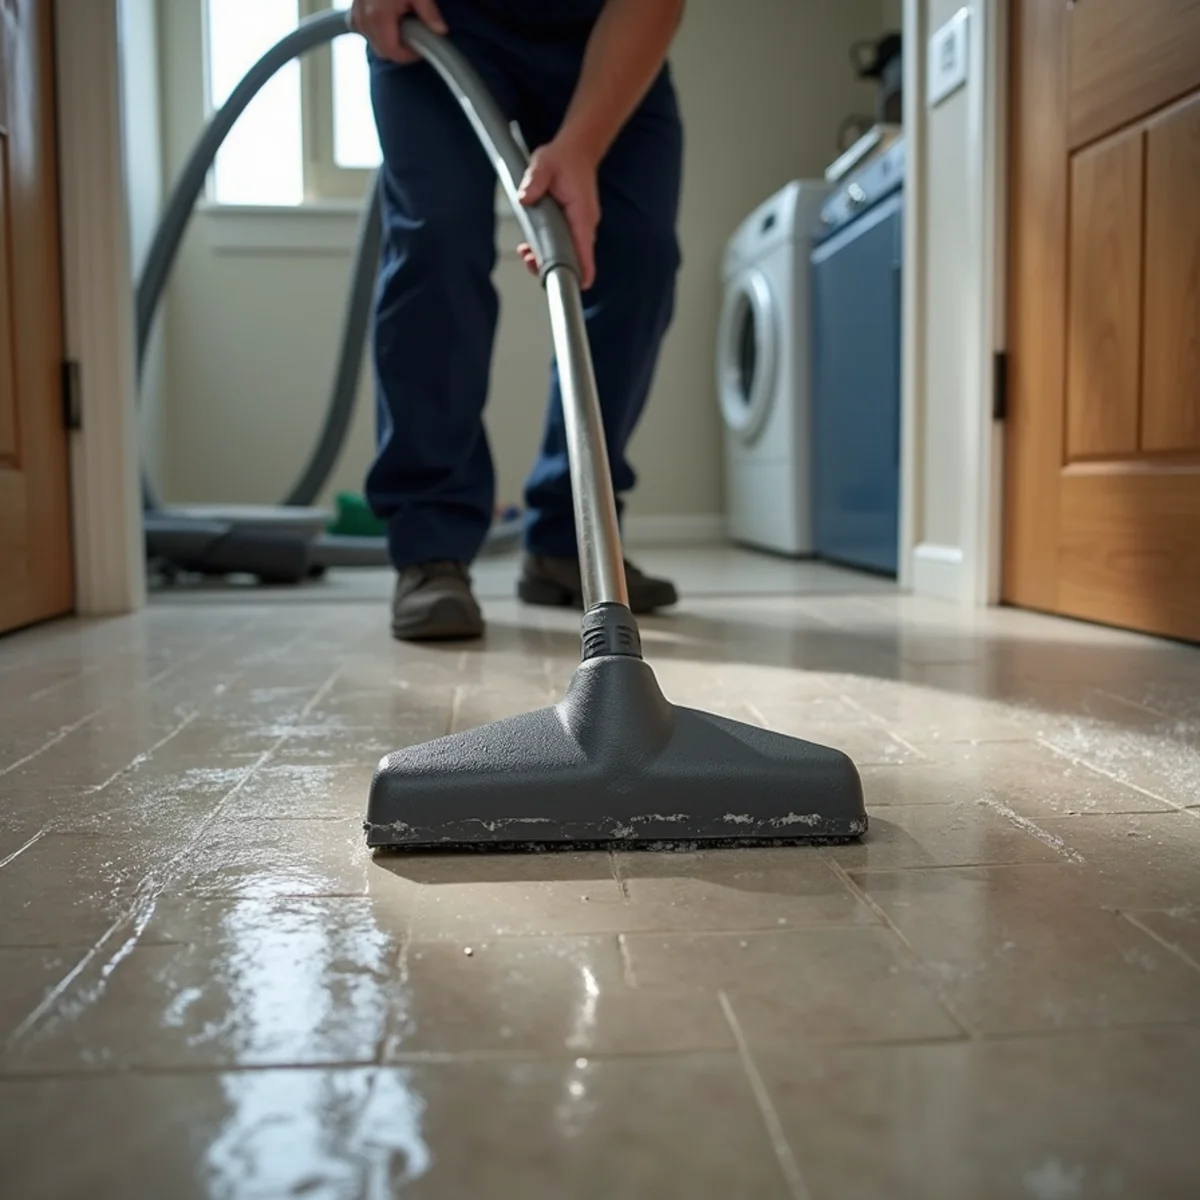
A wet vac takes the surface water off hard floors and that is worth doing. What it will not do is pull water out of carpet padding, which holds several gallons per square yard, or reach the water that has already gone under the tack strip into the wall base.
That needs proper water extraction with weighted equipment, followed by drying with equipment sized to the loss. The gap between "looks dry" and "is dry" is where mold problems come from.
Step 5: Replace Both Hoses, Not Just the One That Failed
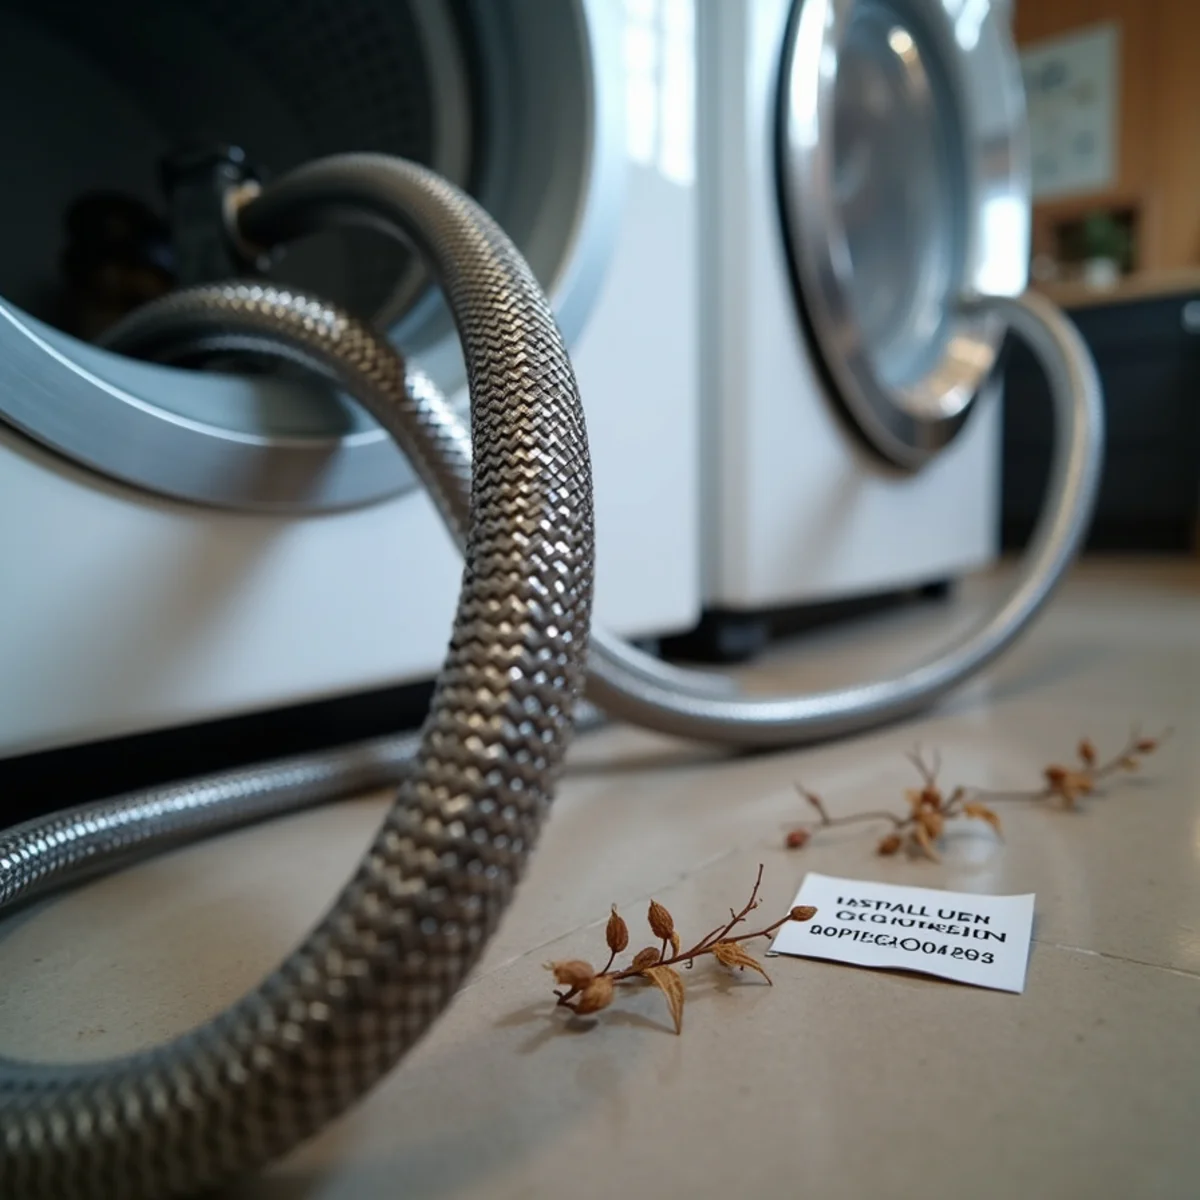
They were installed at the same time, under the same pressure, for the same number of years. The one that has not failed yet is not a different case; it is the same case, running slightly behind.
Replace both with braided stainless steel connectors. Rubber hoses have a notably shorter service life and are the ones we see fail most.
The Fifteen-Dollar Afternoon That Prevents All of This
Braided stainless hoses cost very little and take about ten minutes a pair to fit. Replace them every five years or so, and note the date on the hose with a marker so the next person knows.
Two other habits that cost nothing. Close the laundry valves when you go away for more than a few days — a failure with the valves closed is a non-event. And leave a gap behind the machine so the hoses are not kinked hard against the wall, because a kinked hose fails at the kink.
For a fuller list of the components worth replacing on a schedule, see when to replace washing machine hoses, water heaters and supply lines.
- Braided stainless hoses, replaced roughly every five years
- Date written on the hose in marker at installation
- Valves closed whenever the house is empty for more than a few days
- No hard kinks — leave clearance behind the machine
- A drain pan under the machine where the floor allows it
Why the Laundry Room Costs More Than Its Size Suggests
Laundry losses are consistently larger than homeowners expect, and it is almost entirely a matter of position. Laundry rooms sit in hallways, in closets against bedroom walls, in garages that share a wall with living space, or upstairs directly above a kitchen or living room. Very few of them are isolated, and none of them are the room the water stays in.
On an upstairs laundry the pattern is depressingly consistent: the ceiling below shows a stain the following morning, but the real damage is the joist bay, the insulation lying in it, and the top plate of the wall the water ran down inside. That is a drilled-access and directed-airflow job, not a fan pointed at a ceiling.
The tradeoff we discuss most often on these calls is carpet versus padding. With clean supply water and extraction underway quickly, carpet itself is frequently salvageable — it is a manufactured fiber, it is on top, and weighted extraction pulls a genuine amount of water back through it. The padding underneath is a different question. It is designed to hold and cushion, it holds water the same way, and once it has been saturated for more than a day or so replacing it is both cheaper and more reliable than trying to dry it in place.
The bottom line
Valves closed, water traced, everything photographed, extraction done properly, both hoses replaced.
And then the part that matters most: write the date on the new hoses, so this does not become a recurring event.